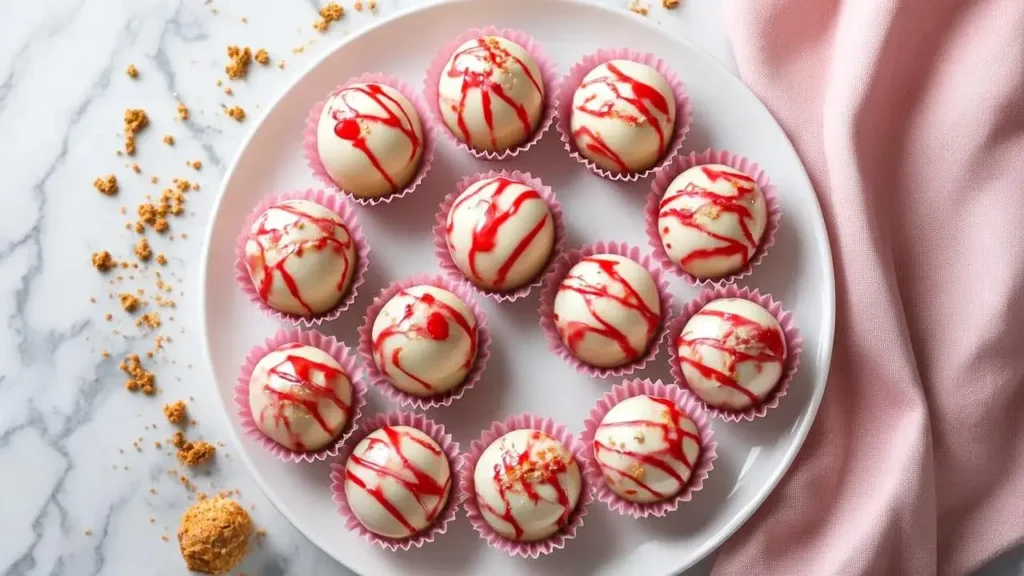
Strawberry cheesecake truffle balls are the bite-sized treat you didn’t know you needed—until now. Imagine rich, creamy cheesecake blended with sweet strawberries and wrapped in a smooth white chocolate shell. Sounds dreamy, right?
Whether you’re planning a party, need a quick dessert fix, or just want to impress your taste buds, this easy recipe is about to become your new favorite. You don’t need fancy skills—just a few simple ingredients and a craving for something truly irresistible. Let’s dive into how you can whip up these little balls of joy in your own kitchen!
Strawberry Cheesecake Truffle Balls Ingredients
When making strawberry cheesecake truffle balls, it’s essential to use high-quality ingredients. Quality matters a bunch. Here’s what you’ll typically need:
Cream Cheese
Cream cheese is the base of your truffles. It provides that rich, creamy texture we love in cheesecakes. Look for full-fat cream cheese for the best results. It’s soft, spreads easily, and mixes well.
White Chocolate
White chocolate gives our truffles that sweet, decadent coating. Choose good quality white chocolate with cocoa butter for a smoother melt. It’s important for texture and flavor.
Strawberries
Strawberries are the star of this show. Fresh strawberries lend natural sweetness and a beautiful pop of color. You can also use freeze-dried strawberries for a more intense flavor because they’re concentrated!
Graham Cracker Crumbs
Graham cracker crumbs replicate the cheesecake crust and add a nice crunch. You can crush them yourself or buy pre-ground crumbs. Homemade is always a fun way to go.
Sugar
A little sugar is necessary to sweeten the cream cheese mixture. Adjust the sugar based on the sweetness of your strawberries. Sometimes the strawberries are sweeter than expected!
Vanilla Extract
Adding a bit of vanilla extract enhances the flavor profile. It compliments both the strawberries and the cream cheese perfectly. Just a splash does wonders!
Tools You’ll Need
To whip up these tasty treats, gather a few essential tools. The right equipment can make your kitchen experience way easier and more fun.
- Mixing Bowl: For blending your cream cheese and other ingredients.
- Electric Mixer: This will make the job a breeze. You wanna achieve that smooth consistency, and an electric mixer is your best friend here.
- Cookie Scoop: This helps in portioning out your truffles evenly without making a mess.
- Baking Sheet: Line it with parchment paper for easy cleanup and to prevent sticking.
- Double Boiler or Microwave-Safe Bowl: For melting the white chocolate.
- Refrigerator: It’s where your truffles will chill (which we love!).
Preparing the Strawberry Cheesecake Mix
The first step is getting that cheesecake filling right. When you nail this part, the truffles will shine. Here’s how to do it:
Creaming the Base
Start by softening the cream cheese. Allow it to sit at room temperature for about 30 minutes. If you’re in a hurry, you can microwave it for about 15 seconds. Just don’t melt it!
In your mixing bowl, add the softened cream cheese, sugar, and vanilla extract. Beat them together using an electric mixer until you’ve got a smooth and creamy mixture. It needs to be free of lumps, so mix well.
Adding Strawberries
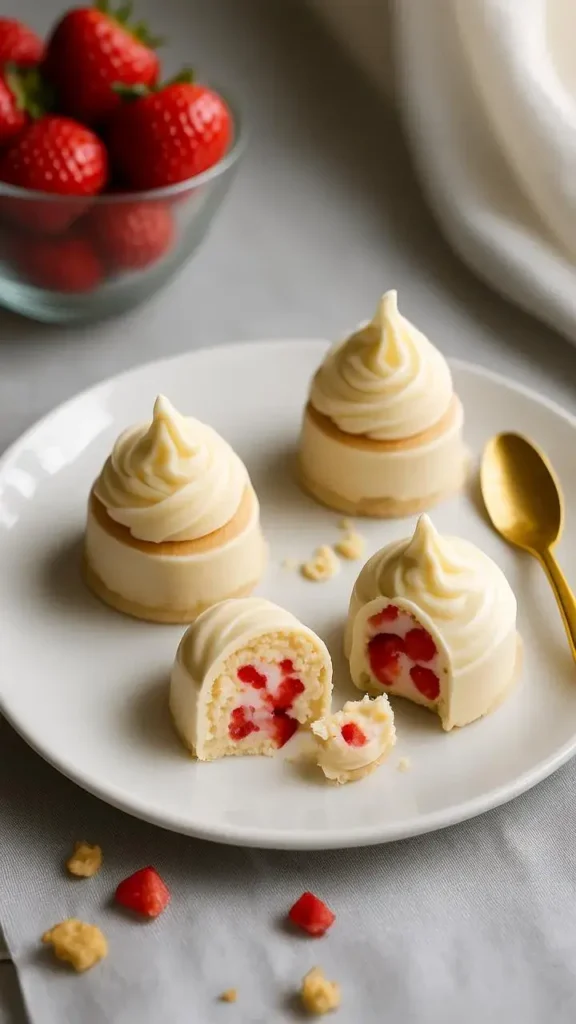
Now, it’s time for the strawberries! If you’re using fresh ones, chop them into tiny pieces. Be gentle and leave some larger chunks for texture. Fold these strawberries into your cream cheese mixture. The sweetness of the strawberries combined with the tanginess of the cream cheese is just heavenly.
Mixing in the Graham Cracker Crumbs
After you’ve gently stirred in the strawberries, the graham cracker crumbs go in. Start with a cup and mix well. You wanna create a consistency that will hold shape when rolled into balls. If it feels too wet, add more graham cracker crumbs until it’s just right.
Chilling the Mixture
Once your mixture is well-combined, it’s time to chill. Cover the bowl with plastic wrap and place it in the refrigerator. This step is key. Chilling allows the flavors to meld together and makes the mixture easier to scoop. Leave it in for at least an hour.
Rolling into Truffles
After chilling, it’s truffle time! Using a cookie scoop, take small portions of the mixture and roll them into balls with your hands. Aim for about 1-inch in diameter. If your hands get sticky, wet them slightly with water.
Place the rolled balls on a baking sheet lined with parchment paper. Leave a bit of space between each one, as they might slightly expand when you dip them in chocolate.
Melting the White Chocolate
Before coating your truffles, you need to melt the white chocolate. You can do this with a double boiler or in the microwave.
Double Boiler Method
Fill a pot with a little water and put it on medium heat. Place a heatproof bowl on top of the pot, ensuring it doesn’t touch the water. Add your white chocolate into this bowl and stir continuously until melted.
Microwave Method
If using the microwave, place white chocolate in a microwave-safe bowl. Heat on high for 30 seconds, stir, then heat in 15-second intervals until melted. Be careful not to overheat it as it can seize up quickly.
Coating the Truffles
Now we get to the fun part: coating! Dip each truffle ball into the melted white chocolate. Use a fork to lift it out, allowing excess chocolate to drip off. Place it back on the parchment-lined baking sheet.
For added flair, you can sprinkle crushed graham crackers on top before the chocolate sets. Or – if you’re feeling fancy – drizzle some extra melted chocolate over the coated truffles for a nice contrast.
Letting Them Set
After coating, let the truffles set at room temperature or place them in the fridge for about 30 minutes. You want the chocolate to solidify completely. The waiting can be the toughest part, but it will be worth it.
Strawberry Cheesecake Truffle Balls Serving Suggestions
Strawberry cheesecake truffles can be served in a variety of ways. Here are some fun ideas for presentation:
- On a Platter: Arrange the truffles on a decorative plate or platter. They make a festive addition to any party spread.
- In Cupcake Liners: Place each truffle in a mini cupcake liner for an elegant touch.
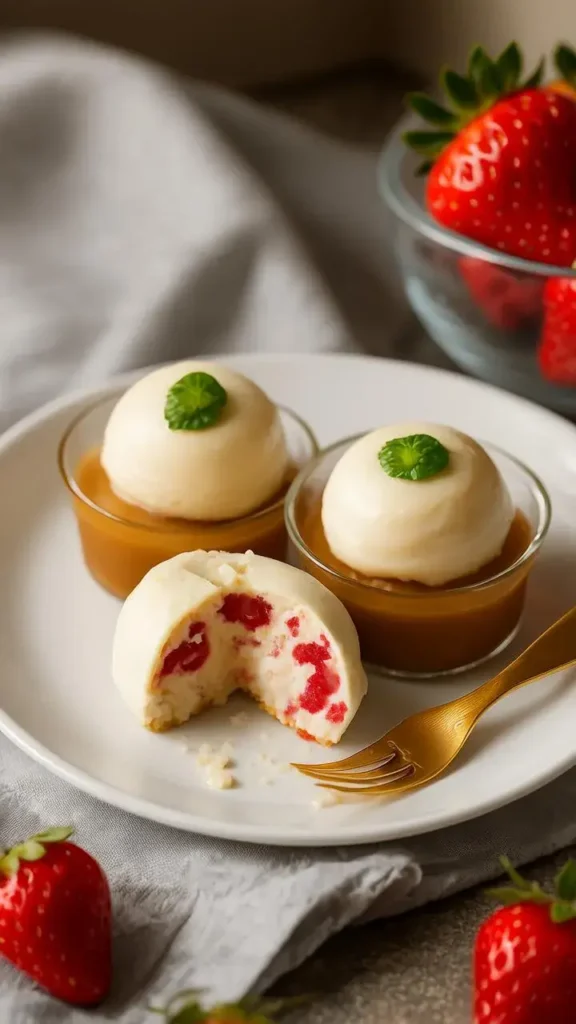
- Garnish: Add fresh strawberries or mint leaves for an extra pop of color and flavor.
Storing Your Truffles
If there are any leftover truffles (which is rare!), you can store them. Place them in an airtight container and refrigerate. They should stay fresh for up to a week – though they’re usually devoured within days!
Freezing Option
If you want to enjoy them later, you can freeze them. Arrange the truffles on a baking sheet and freeze until solid. Once frozen, transfer them into a freezer-safe container or bag. They can last up to three months in the freezer. When you’re ready to enjoy, just let them thaw in the fridge overnight.
Nutritional Facts
Here’s a quick overview of the nutritional content for a serving (1 truffle):
| Nutrient | Amount per serving |
|---|---|
| Calories | 100 |
| Fat | 7g |
| Carbohydrates | 10g |
| Sugar | 6g |
| Protein | 1g |
(Nutritional values may vary based on exact ingredient proportions and brands.)
Creative Variations
Got some ideas spinning in your head? There are countless ways to tweak this recipe to make it your own. You might try:
- Chocolate Strawberries: Swap white chocolate for milk or dark chocolate for a richer taste.
- Nutty Touch: Mix in some chopped nuts like almonds or pecans for added crunch.
- Flavor Infusions: Use different extracts or flavorings, like almond or lemon, for a twist on the classic flavor.
- Fruit Variety: Mix in other fruits, like raspberries or blueberries, to create a mixed berry version.
Conclusion
Making strawberry cheesecake truffle balls is both a fun and rewarding kitchen adventure. This recipe is simple enough for beginners but offers room for creativity. Plus, who can resist those delightful bites of creamy goodness?
From special occasions to simple treats, these truffles will steal the show. Give them a try, and share them with friends and family – they’ll surely be a hit! With just a few steps, you can whip up a batch that’ll have everyone asking for seconds. So gather your ingredients, crank up the tunes, and happy baking!
