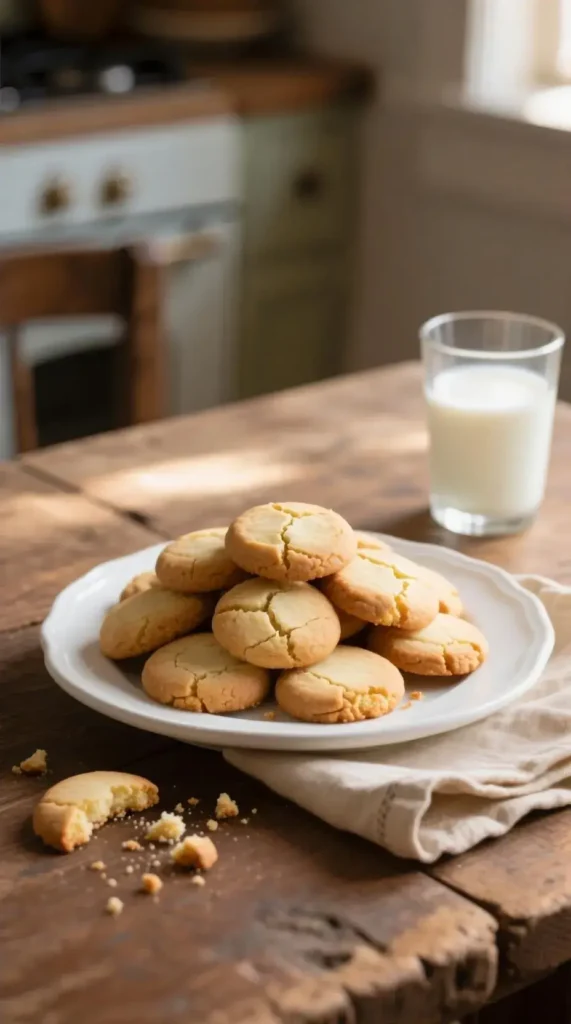
Butter cookies are timeless, but nothing beats the joy of baking melt in your mouth butter cookies at home. These classic treats are soft, buttery, and tender, delivering pure delight in every bite. If you’ve ever savored one and wondered how to recreate that perfect texture, this guide will walk you through the secrets step by step.
The Lovely History of Butter Cookies
Butter cookies have a rich history that can take you back to Europe, especially around the 19th century. Most people connect them to various cultures, like the Danish, who perfected their own version.
These cookies were often served during special occasions. They were simple yet luxurious, showing off the quality of the butter and other ingredients used. Over time, they adapted, but the essence remained. Today, they symbolize warmth, love, and sometimes nostalgia.
Key Ingredients for Melt in Your Mouth Butter Cookies
The magic truly happens in the ingredients. Let’s look into each of the components that make these cookies so special.
Butter
Butter is the star ingredient. It provides flavor and richness. When selecting butter, go for unsalted varieties for better control over salt levels in your dough. Keep in mind that the quality of the butter directly impacts the final cookie.
Sugar
Granulated sugar is commonly used in butter cookies. It sweetens without overshadowing the buttery flavor. Additionally, some recipes might call for powdered sugar. This type adds a melt-in-your-mouth texture that enhances the cookie’s overall experience.
All-Purpose Flour
Flour is the backbone of our cookie dough. Opt for all-purpose flour. It possesses the right gluten content needed for cookies while maintaining tenderness.
Eggs
Eggs provide moisture and act as a binding agent. For this recipe, we typically use one large egg. It’s essential for achieving that perfect dough consistency.
Vanilla Extract
Don’t underestimate vanilla. It adds deep flavor depth, enhancing other ingredients. Always use pure vanilla extract if possible; it transforms a basic cookie into something really special.
Salt
Salt may seem counterintuitive, but it balances sweetness. A pinch can elevate the flavors and make the cookie experience richer.
Tools You’ll Need
It’s not just about the ingredients; the right tools can make or break your baking adventure. Here’s a handy list of what you’ll need.
- Mixing bowls
- Electric mixer or whisk
- Baking sheet
- Parchment paper
- Measuring cups and spoons
- Cookie cutters (if you fancy shapes)
How to Achieve the Perfect Texture
The texture is one of the defining factors in creating melt-in-your-mouth cookies. To get it right, you need to look into two important aspects: creaming and baking.
Proper Creaming Technique
Creaming the butter and sugar correctly is crucial. This step incorporates air into the dough, making the cookies light and fluffy.
- Room Temperature Butter: Start with butter that’s softened but not melted. This ensures it can trap air while mixing.
- Speed Matters: Use medium speed on your mixer. Too fast can create large air pockets while too slow won’t incorporate enough air.
- Cream Until Fluffy: Aim for a light, fluffy texture, which usually takes about 3-5 minutes.
Baking Temperature and Time
Baking cookies at the right temperature is vital. Overbaking can lead to crispy edges, while underbaking can cause doughy centers.
- Temperature: Preheat your oven to 350°F (175°C).
- Timing: Bake for 10 to 12 minutes. The edges should be a light golden brown while the centers appear slightly soft.
Melt in Your Mouth Butter Cookies Recipe
Now that we have a foundation, let’s dive into the actual recipe. This is where everything we’ve discussed comes into play.
Ingredients
- 1 cup unsalted butter, softened
- 3/4 cup granulated sugar
- 1/4 cup powdered sugar
- 1 large egg
- 2 teaspoons pure vanilla extract
- 2 1/4 cups all-purpose flour
- 1/2 teaspoon salt
Instructions
- Preheat the Oven: Start by preheating your oven to 350°F (175°C). Line your baking sheet with parchment paper.
- Cream Butter and Sugar: In a mixing bowl, blend the softened butter, granulated sugar, and powdered sugar until light and fluffy.
- Add Egg and Vanilla: Beat in the egg and vanilla extract until fully combined.
- Dry Ingredients: In a separate bowl, mix the all-purpose flour and salt. Gradually add this mixture to your wet ingredients. Don’t overmix! Just mix until you see no streaks of flour.
- Shape the Cookies: Using a cookie scoop or your hands, form dough balls (about 1 inch in size). Place them on the lined baking sheet, leaving enough space for spreading.
- Bake: Pop them in the oven for about 10-12 minutes or until the edges are golden. The centers might look soft, but they’ll firm up as they cool.
- Cool Down: Let the cookies cool on the baking sheet for about 5 minutes before transferring them to a wire rack to cool completely.
Tips for Success
Baking is an art, but it’s also scientific! Here are some tips to help you nail that melt-in-your-mouth texture every single time.
- Sift Flour: Sift your flour before measuring. This aerates it, resulting in lighter cookies.
- Chill the Dough: If you have the time, chill the dough for 30 minutes. This helps with shaping and prevents spreading.
- Use a Scale: Weighing your ingredients instead of using volume can yield more consistent results.
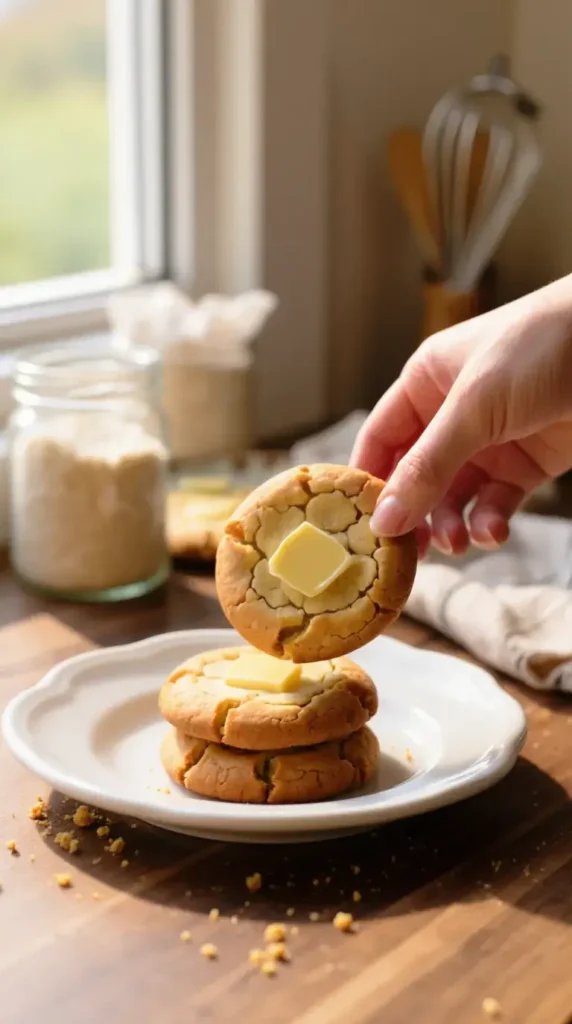
- Experiment with Add-ins: Feel like jazzing it up? Consider adding chocolate chips, nuts, or dried fruit for variety.
The Science Behind the Melt-in-Your-Mouth Texture
Understanding a bit of the science can help you become a better baker! Let’s break down how your ingredients contribute to that delightful texture.
Role of Fat
Butter is essential for creating a tender cookie. It coats flour proteins, limiting gluten formation. When there’s less gluten, you get a softer, melt-in-your-mouth texture.
Sugar and Texture
The type of sugar affects texture as well. Granulated sugar will create a crisper cookie, while powdered sugar can add that melting effect.
Eggs as a Binding Agent
Eggs add structure but can also contribute to moisture. The right balance of eggs is crucial; too few can lead to crumbly cookies, while too many will make them cake-like.
Variations on Your Basic Recipe
Once you’ve got the basic butter cookie down, why stop there? Here are some fun variations to try.
- Lemon Zest: Add grated lemon peel for a refreshing citrus flavor.
- Cocoa Powder: Replace some flour with cocoa for a chocolatey twist.
- Matcha Powder: Incorporating matcha adds color and a unique flavor.
- Spices: Cinnamon, nutmeg, or even cardamom can elevate your cookies to a whole new level.
Storing Your Cookies
Now that you’ve baked your cookies, how do you ensure they remain fresh?
At Room Temperature
Let them cool completely. Store in an airtight container. They’ll last for about a week this way.
Refrigeration
If you want them to last longer, you can refrigerate them for up to 2 weeks. Just make sure they’re well-sealed.
Freezing
For extended storage, freeze them in a single layer. Once frozen, transfer to a zip-top bag. They can last up to 3 months!
Final Thoughts
Making melt-in-your-mouth butter cookies is both an art and a science. By understanding the role of each ingredient and following a solid recipe, you can create a batch of cookies that not only satisfy but also impress.
Don’t be afraid to experiment. Whether you stick to the classic recipe or try something new, each batch of cookies can tell a different story.
Remember, baking isn’t just about precision — it’s about love and creativity. Happy baking! 🍪
