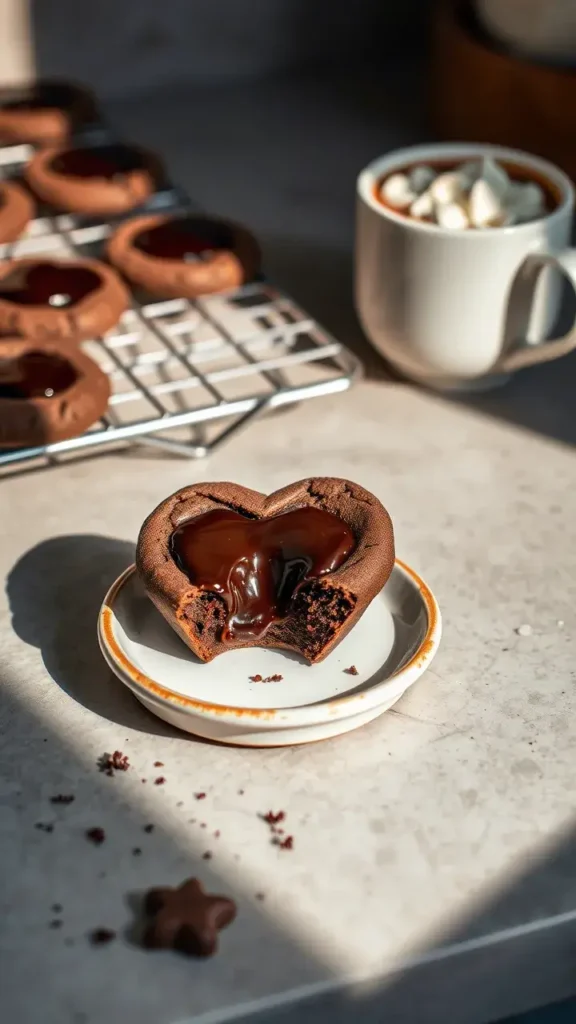
Heart shaped chocolate thumbprint cookies are the sweetest way to say “I love you”—whether it’s Valentine’s Day, an anniversary, or just a random Tuesday. These rich, buttery delights filled with creamy chocolate are more than just a treat—they’re a heartfelt gesture baked with love.
If you’re craving a dessert that’s as beautiful as it is delicious, you’re in the right place. In this recipe, I’ll walk you through every step to create these charming cookies that are sure to impress. Ready to make something truly unforgettable? Let’s get baking!
The Basics of Thumbprint Cookies

Thumbprint cookies are a classic in the baking world. They’re easy to make, adaptable, and oh-so-delicious. The name comes from the technique used to create an indented mark in the center of the cookie.
Origins of Thumbprint Cookies
Historically, thumbprint cookies are thought to have originated in Europe. Variants can be found in many cultures, often resembling shortbread cookies filled with jams or creams. The most common variation uses fruit preserves, but chocolate lovers can rejoice; we’ll be crafting ours with delectable chocolate filling.
What Makes Thumbprint Cookies Special?
The beauty of thumbprint cookies lies in their versatility. You can fill them with so many flavors: fruit preserves, nuts, or, in our case, a divine chocolate ganache. Also, the thumbprint technique allows for a lot of creativity with the presentation, making them perfect for any occasion.
Tips for Perfect Thumbprint Cookies
- Chill the Dough: This helps in maintaining shape while baking.
- Don’t Overbake: To ensure a soft and chewy texture, keep an eye on the timer.
- Experiment with Fillings: From peanut butter to caramel, the sky’s the limit!
Ingredients for Heart Shaped Chocolate Thumbprint Cookies
The beauty of these cookies is in their simplicity. Yet, the quality of the ingredients can transform this simple treat into an extraordinary delight. Here’s a breakdown of what you’ll need:
| Ingredient | Quantity | Notes |
|---|---|---|
| All-purpose flour | 2 cups | Essential for structure |
| Unsweetened cocoa powder | ½ cup | Adds intense chocolate flavor |
| Unsalted butter | 1 cup (softened) | Provides richness |
| Granulated sugar | ¾ cup | Sweetens the dough |
| Light brown sugar | ½ cup | Adds depth of flavor |
| Egg | 1 large | Binder for the dough |
| Pure vanilla extract | 1 teaspoon | Enhances flavor |
| Baking powder | 1 teaspoon | Helps cookies rise |
| Salt | ½ teaspoon | Balances sweetness |
| Chocolate ganache (for filling) | 1 cup (see below) | For the thumbprint |
Chocolate Ganache Recipe
The filling is key to the success of these cookies! Here’s a quick recipe:
- Ingredients:
- Heavy cream: ½ cup
- Semi-sweet chocolate chips: 1 cup
- Optional: a pinch of sea salt or a splash of vanilla extract for extra richness.
- Instructions:
- Heat the cream over medium heat until just simmering.
- Pour over the chocolate chips in a bowl.
- Let it sit for a minute, then stir until smooth. Set aside to cool slightly before using.
Guide For Making Heart Shaped Chocolate Thumbprint Cookies
Preparing the Dough
- Combine Dry Ingredients: In a mixing bowl, sift together the flour, cocoa, baking powder, and salt. This ensures even distribution of ingredients.
- Cream the Butters and Sugars: In a separate bowl, beat the softened butter, granulated sugar, and brown sugar until creamy and light. This incorporation of air gives the cookies a fluffy texture.
- Add the Egg and Vanilla: Beat in the egg and vanilla extract until fully combined. The dough should be smooth and silky.
- Mix the Dry with the Wet: Gradually add the dry mixture to the creamy mixture, mixing until just combined.
Chilling the Dough
Once your dough is mixed, it’s time for a little rest. Wrap it in plastic wrap and chill in the refrigerator for at least 30 minutes. This step is crucial; it makes the dough easier to work with, and helps maintain the shape during baking.
Shaping the Cookies
- Preheat the Oven: Set your oven to 350°F (175°C) while the dough chills.
- Form the Hearts: Roll the dough into small balls (about 1 inch in diameter). Gently press your thumb into the center of each ball to create an indentation.
- Shape into Hearts: Using your fingers, pinch the bottom of the indentation to form a heart shape. Repeat for all cookies.
Baking the Cookies
- Prepare the Baking Sheet: Line your baking sheet with parchment paper.
- Bake: Place cookies on the sheet, leaving space between each one. Bake for 10 – 12 minutes. The edges should look set, but the centers may look a bit soft.
- Cool Down: Allow them to cool on the baking sheet for five minutes before transferring to a wire rack. This ensures they hold their shape and don’t break.
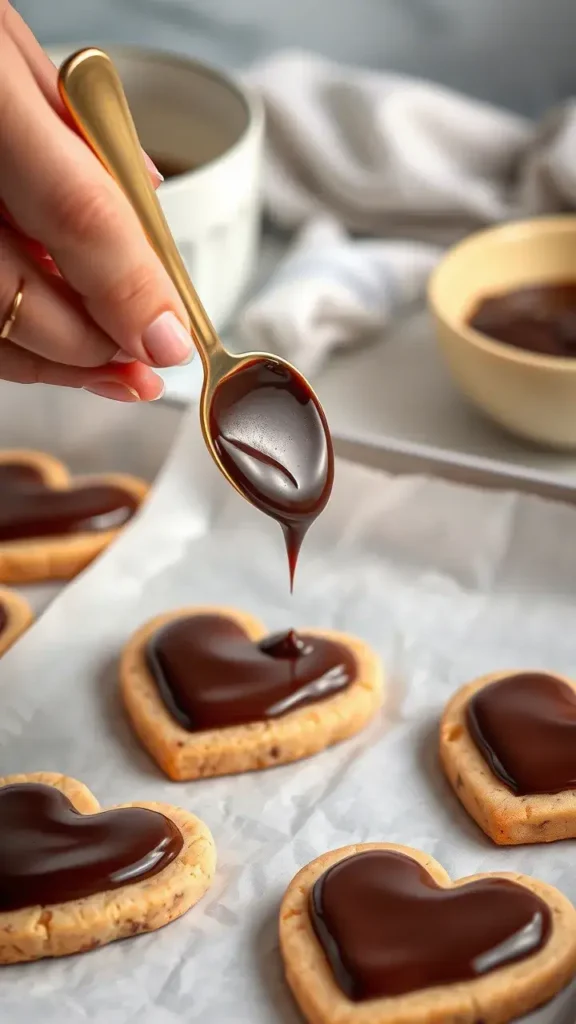
Adding the Filling
Once cool, it’s time to fill those beautiful heart-shaped thumbprints with our luscious chocolate ganache. Use a teaspoon or a piping bag to fill each indentation generously. The ganache should be slightly soft but not runny.
Decorating Your Cookies
Now that our heart-shaped cookies are all filled and ready, we can bring them to life with some decorations.
- Consider adding sprinkles or edible glitter on top of the chocolate ganache for a pop of color.
- Drizzle some melted white chocolate over the cookies for a decorative touch.
- Use colored frosting to create small messages or designs, turning them into personalized gifts.
Storage and Enjoyment Tips
Once you’ve baked your heart-shaped chocolate thumbprint cookies, it’s important to store them correctly to maintain freshness.
Storage Tips
- Room Temperature: Store in an airtight container for up to 5 days.
- Refrigeration: Can last up to 2 weeks in the fridge. However, this may change the texture slightly.
- Freezing: These cookies freeze well. Wrap securely in plastic wrap, then aluminum foil. They’ll be good for about 3 months.
Enjoying the Cookies
Serve these cookies at room temperature. They pair wonderfully with a cup of coffee, tea, or milk! Consider making a beautiful platter for a gathering or gifting them to loved ones.
The Psychology of Baking and Gifting Cookies
Baking, especially for others, has its roots in love and care. Here’s a quick breakdown of the psychological benefits:
The Benefits of Baking
- Therapeutic Effects: The act of mixing and creating can be incredibly calming.
- Mindfulness: It requires you to focus on the moment, creating a form of meditation.
- Connection: Sharing cookies creates a sense of community and care.
- Creativity: Customizing recipes encourages original thinking.
The Joy of Gifting Cookies
Offering homemade treats like heart-shaped chocolate thumbprint cookies can convey feelings of affection, appreciation, or acknowledgment.
- Personal Touch: Homemade gifts tend to feel more sincere than store-bought ones.
- Evokes Memories: Cookies often remind us of special moments, creating nostalgia.
- Encourages Reciprocity: Sharing baked goods can strengthen relationships through mutual enjoyment.
Conclusion
In conclusion, heart-shaped chocolate thumbprint cookies are a delightful blend of taste, texture, and sentiment. Who wouldn’t want to receive such a treat? These delectable cookies are not only simple to make but also allow for creativity in the kitchen.
From the comforting aroma of chocolate filling your home to the smiles they bring when shared, these cookies encapsulate the joy of baking. They’re perfect for holidays, gatherings, or simply as a token of your love for someone special.
So, what are you waiting for? Grab your apron and start baking. Your heart-shaped chocolate thumbprint cookies are just a few steps away!
