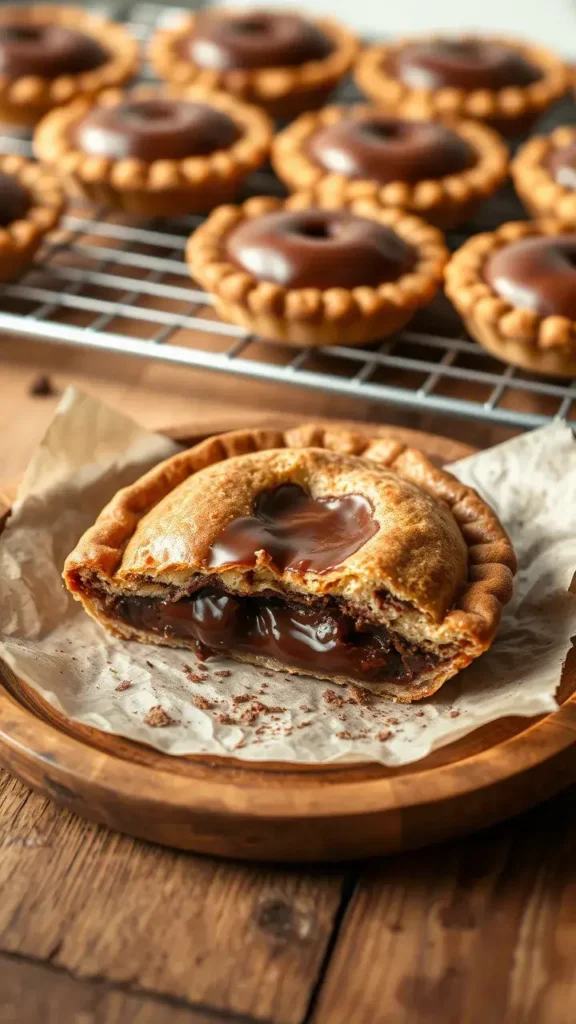
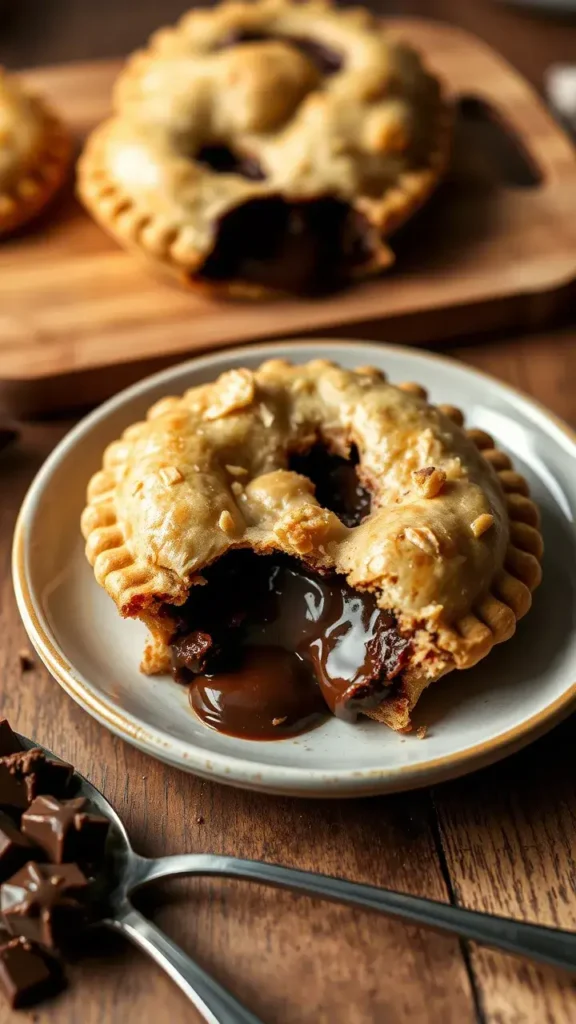
Chocolate hand pies are about to become your new obsession — imagine golden, flaky pastry stuffed with rich, molten chocolate that melts in your mouth with every bite. Whether you’re craving an indulgent treat for a cozy evening or planning to impress guests, these little pockets of joy deliver big on flavor and comfort.
You deserve a dessert that feels like a warm hug, and chocolate hand pies are just that. Ready to discover how simple it is to bake these irresistible beauties at home? Let’s dive in, and I promise you’ll be reaching for seconds in no time!
What are Hand Pies?
Hand pies are small pastries that can be filled with sweet or savory fillings. They’re often associated with comfort food, as they evoke feelings of nostalgia. Originally, hand pies are believed to have originated in ancient times. Many cultures have their own versions, from the Cornish pasty in England to the empanada in Spain.
Interestingly, the beauty of hand pies lies in their versatility. You can fill them with meats, fruits, or chocolate – the choice is yours. In this article, we’ll focus specifically on the chocolate version, which appeals to chocolate lovers everywhere.
A Brief History of Hand Pies

Before diving into the recipe, let’s take a moment to look at the history. Hand pies have been around for centuries, with some of the first versions dating back to ancient civilizations. These pies were used as a way to preserve food.
In Medieval Europe, meat and vegetables were encased in pastry as a means to store them. The pastry protected the filling during cooking, and it could be eaten too. This concept evolved over time, and fillings changed from savory to sweet, especially in the 19th century.
Today, we find hand pies filled with fruits like apples, cherries, and, of course, chocolate. Each region and culture has added its own twist, making hand pies a diverse culinary delight.
Essential Ingredients for Chocolate Hand Pies
Creating heavenly chocolate hand pies requires careful selection of ingredients. Here’s a breakdown of what you’ll need:
For the Dough
- All-Purpose Flour: This forms the base. It gives structure to your hand pies.
- Unsalted Butter: Adds richness and flaky texture. Cold butter is key.
- Sugar: Just a bit to balance flavors.
- Salt: Enhances sweetness and brings out flavors.
- Cold Water: Helps to bind the dough without melting the butter.
For the Filling
- Chocolate Chips: Semi-sweet or dark chocolate, depending on your preference.
- Heavy Cream: To make a luscious ganache filling.
- Vanilla Extract: Adds depth to the chocolate flavor.
- Optional Add-ins: You could include nuts, caramel bits, or even a pinch of sea salt on top.
The Equipment
- Food Processor: Great for quickly blending dough, but not necessary.
- Rolling Pin: Essential for rolling out the dough.
- Baking Sheet: For setting the pies while they bake.
- Parchment Paper: To prevent sticking and make cleanup easier.
- Pastry Cutter: If you wanna be fancy, use this for cutting dough circles.
Step-by-Step Guide to Making Heavenly Chocolate Hand Pies
So, are you ready? Let’s make these heavenly chocolate hand pies step by step!
Step 1: Make the Dough
- In a bowl, mix the flour, sugar, and salt.
- Cut the cold unsalted butter into small cubes and add to the flour mixture.
- Using your fingers or a pastry cutter, work the butter into the flour until it resembles coarse crumbs.
- Slowly add cold water, one tablespoon at a time, mixing until the dough holds together.
- Wrap the dough in plastic wrap and refrigerate for at least 30 minutes.
Step 2: Prepare the Filling
- In a small saucepan, heat the heavy cream until it just starts to simmer.
- Remove from heat and add chocolate chips.
- Let it sit for a minute, then stir until the chocolate is fully melted and smooth.
- Add vanilla extract and mix well. If you’re adding nuts or caramel, fold them in gently.
Step 3: Roll Out the Dough
- Once chilled, remove the dough from the fridge.
- Sprinkle flour on a clean surface and roll out the dough to about 1/8-inch thick.
- Cut out circles using a cookie cutter or a glass, around 4 to 5 inches in diameter.
Step 4: Assemble the Hand Pies
- Preheat your oven to 375°F (190°C).
- Place a small spoonful of chocolate filling in the center of each circle.
- Carefully fold the dough over to form a half-moon shape.
- Press the edges with a fork to seal them securely.
- Make a couple of slits on top to allow steam to escape.
Step 5: Bake
- Line a baking sheet with parchment paper and arrange the hand pies on it.
- Optionally, brush the tops with an egg wash (1 beaten egg) for a shiny finish.
- Bake for 20-25 minutes, or until they’re golden brown.
Step 6: Cool and Enjoy!
- Allow them to cool on a wire rack for a few minutes before digging in. They’ll be hot!
- Dust with powdered sugar for a beautiful presentation.
Tips for Perfect Chocolate Hand Pies
- Use Chilled Ingredients: Cold butter and cold water are essential for flaky pastry.
- Don’t Overwork the Dough: Mix just until combined. Over-mixing will result in tough pastry.
- Experiment with Flavors: Feel free to add different extracts like almond or orange for a unique twist.
- Serving Suggestions: Pair these hand pies with a scoop of vanilla ice cream or whipped cream for an extra treat.
Variations of Chocolate Hand Pies
While chocolate is king, let’s not forget the options! Here are a few variations to consider:
Mint Chocolate Hand Pies
Add a peppermint extract to the filling. This makes for a refreshing version, especially around the holidays.
Spicy Chocolate Hand Pies
Mix in a pinch of cayenne pepper or chili powder. It adds unexpected heat and depth to the sweet chocolate.
Fruity Chocolate Hand Pies
Try adding a few chopped raspberries or cherries to the chocolate filling for a fruity twist.
Nutty Chocolate Hand Pies
Chopped hazelnuts or walnuts bring extra crunch and flavor.
Vegan Chocolate Hand Pies
Swap butter for coconut oil and use vegan chocolate and dairy-free cream. It’s easy to adapt to various diets!
Storage Tips for Chocolate Hand Pies
So, you’ve made a batch of heavenly chocolate hand pies, but what to do with leftovers? Proper storage is key to retaining their deliciousness.
- In the Fridge: Keep the pies in an airtight container. They’ll stay fresh for about three days.
- In the Freezer: For longer storage, wrap each pie individually in plastic wrap and store in a freezer-safe bag. They can last up to three months.
- Reheat: Reheat in the oven at 350°F (175°C) for about 10-15 minutes. This ensures they retain their texture.
Nutritional Facts of Chocolate Hand Pies
Understandably, hand pies are a treat. Here’s a rough estimate of the nutritional content for one chocolate hand pie:
| Nutrient | Amount (Approx.) |
|---|---|
| Calories | 250-300 |
| Total Fat | 15g |
| Saturated Fat | 8g |
| Cholesterol | 30mg |
| Carbohydrates | 30g |
| Dietary Fiber | 2g |
| Sugars | 10g |
| Protein | 3g |
Please note that these values can vary based on specific ingredients and portion sizes.
The Art of Hand Pie Presentation
Once baked, it’s time to showcase your heavenly chocolate hand pies. Here are some serving ideas:
- Plate Them Nicely: Arrange them on a beautiful platter.
- Garnish: Fresh mint or berries can add a pop of color.
- Chocolate Drizzle: A drizzle of chocolate sauce over the top can make them look divine.
- Serve with Dips: Offer whipped cream or chocolate sauce as a dipping option.
Conclusion
In conclusion, heavenly chocolate hand pies are a delightful treat everyone loves. They offer a delicious combination of flaky pastry and rich, gooey chocolate filling. The best part? You can customize them to suit your tastes.
Whether you’re making them for a special occasion or just because—you can never go wrong with chocolate. Embrace creativity, share them with friends, or hoard them all to yourself. Whichever way you choose, they’re sure to be a hit!
So, roll up those sleeves, gather your ingredients, and get baking. Your taste buds will thank you!
