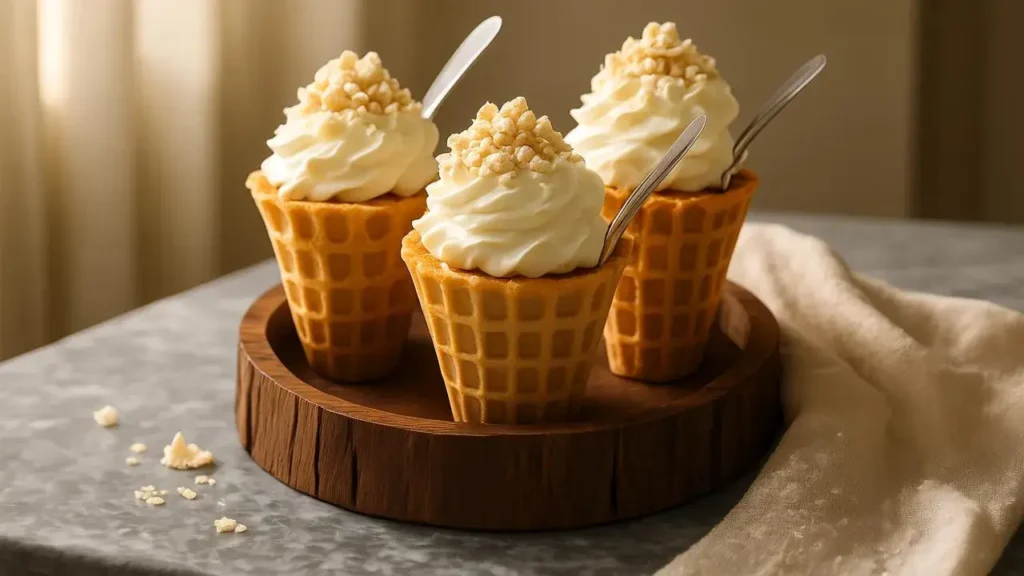
Banana Pudding Cheesecake Cones are the dessert mashup you didn’t know you needed—until now. If you love the creamy nostalgia of banana pudding and the rich indulgence of cheesecake, imagine them packed into a crispy cone that’s ready to devour. Yep, it’s as dreamy (and drool-worthy) as it sounds.
You’re about to discover the perfect treat for parties, cozy nights in, or those sweet cravings that just won’t quit. These cones are fun, fuss-free, and guaranteed to impress. Stick around—I’ll walk you through exactly how to make them step-by-step, plus share tips, toppings, and tasty twists you’ll love!
The Allure of Banana Pudding and Cheesecake
A Classic Combination
Banana pudding has long been a favorite in many households. It’s creamy, smooth, and has a comforting sweetness. Cheesecake brings a whole new flavor dimension with its soft, rich texture and tartness. Together, they make a dessert that’s easy to love. Imagine licking a cone filled with these flavors—it’s paradise!
Perfect For Every Occasion
Whether it’s a summer barbecue, a birthday party, or even just a cozy night at home, Banana Pudding Cheesecake Cones fit the bill. They’re portable, can be made in advance, and are sure to impress. Each bite mixes crunchy cones, creamy cheesecake, and fresh banana slices—just heavenly!
Ingredients for Banana Pudding Cheesecake Cones
The Essentials
Before we can jump into the making part, you gotta gather your ingredients. This dish echoes simplicity but bursts with flavor, so it’s essential to pick high-quality components. Here’s a list of what you’ll need:
Crust Ingredients
- 1 cup of graham cracker crumbs
- 3 tablespoons of melted butter
- 2 tablespoons of sugar
Cheesecake Filling
- 16 oz cream cheese, softened
- 1 cup powdered sugar
- 1 teaspoon vanilla extract
- 1 cup heavy whipping cream
- 1 cup banana pudding (instant pudding mix works great)
- 2 ripe bananas, sliced
Cones
- 8 to 10 ice cream cones (regular or waffle cones)
Optional Toppings
You can jazz up your dessert with some toppings. Here’s some inspiration:
- Whipped cream
- Crushed Nilla wafers
- Additional banana slices
- Chocolate shavings
Making the Banana Pudding Cheesecake Cones
Getting into the nitty-gritty, let’s talk about how to make these dreamy cones. Grab your ingredients, and let’s get this show on the road!
Step 1: Prepare the Cone Base
The bottom of our cones needs attention first. This part plays a significant role as it adds texture and flavor.
- Combine the graham cracker crumbs, melted butter, and sugar in a bowl.
- Mix until the crumbs are well coated. Think of it as creating a sandy beach for your dessert—crunchy yet playable.
- Once mixed, you can either press this mixture into the bottom of the ice cream cones or bake it slightly to create a firmer base.
The Base Baking Option
If you opt to bake it, preheat your oven to 350°F (175°C). Place the cones in a muffin tin to help them stand secure, and bake for about 5-7 minutes until set. Let them cool completely.
Step 2: Making the Cheesecake Filling
The star of our dessert is the cheesecake filling—it’s essential to get it right!
- In a large bowl, beat the softened cream cheese with a mixer until smooth.
- Gradually add the powdered sugar and vanilla extract, mixing until well blended.
- In another bowl, whip the heavy cream until stiff peaks form. This is what gives you that light and fluffy texture.
- Gently fold the whipped cream into the cream cheese mixture until it’s combined. You want to maintain fluffiness, so be gentle here.
Step 3: Adding Banana Pudding
Now comes the fun part! Adding that banana pudding takes everything to another level.
- Gradually mix in the banana pudding into your cream cheese mixture. Beat the combination just until blended.
- Slice your bananas and fold them in. The bananas add freshness and a touch of texture.
Step 4: Assemble the Cones
Now let’s get to the assembly part.
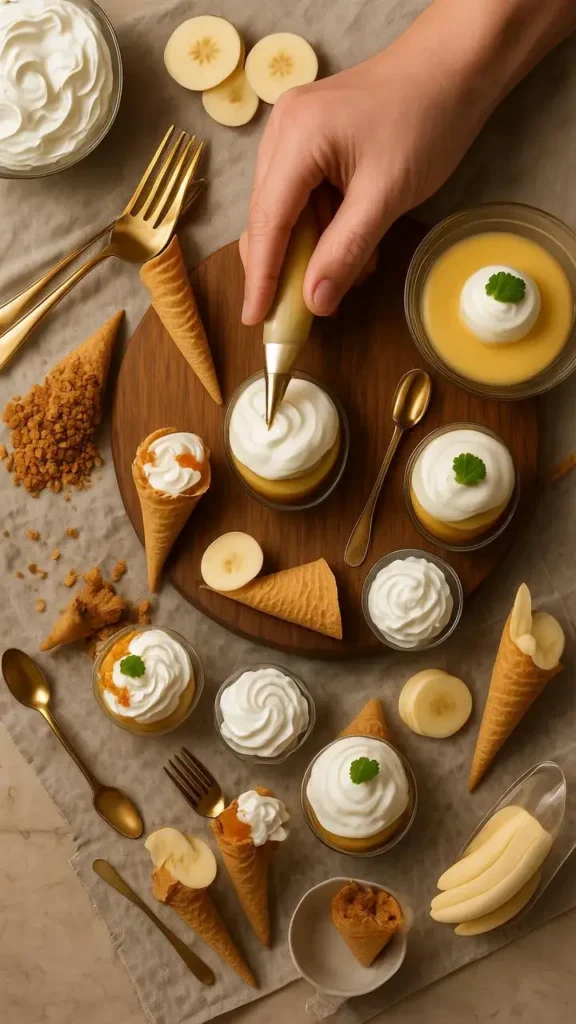
- Use a piping bag (or simply a spoon) to fill the cones. Start from the bottom and work your way up for a more visually appealing layer, or mix it all together for a rustic feel.
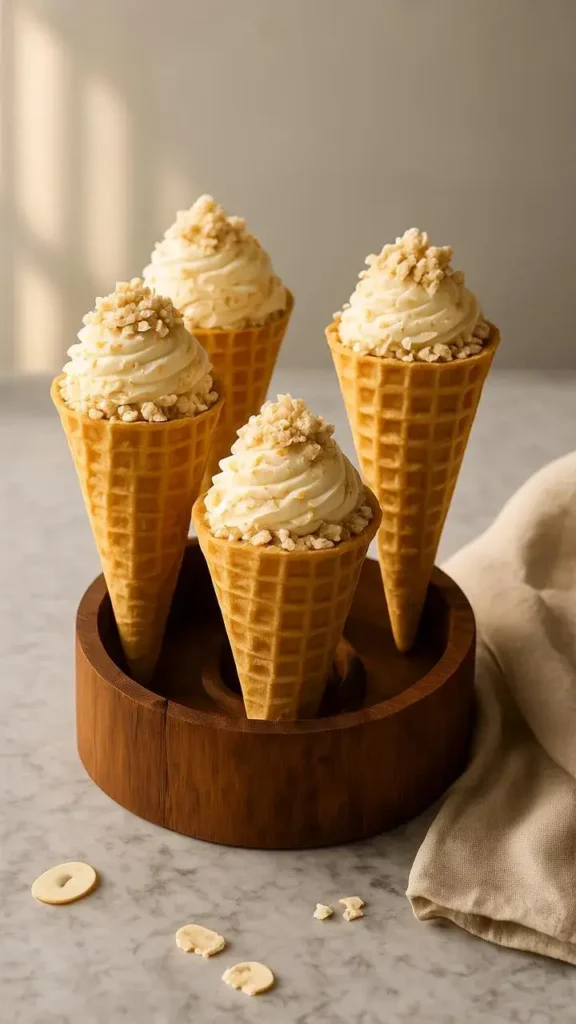
- Pack the filling generously, making sure the top is beautifully rounded.
Step 5: Top It Off
This is where creativity shines!
- Add whipped cream on top, crushed Nilla wafers, or even more banana slices.
- A sprinkle of chocolate shavings adds another fun layer.
Serving Your Banana Pudding Cheesecake Cones
Presentation Tips
The serving part can be just as important as the making.
- Arrange the cones in a large bowl or a bed of crushed ice for presentation.
- Use decorative napkins to catch any drips—let’s face it, they can get a bit messy!
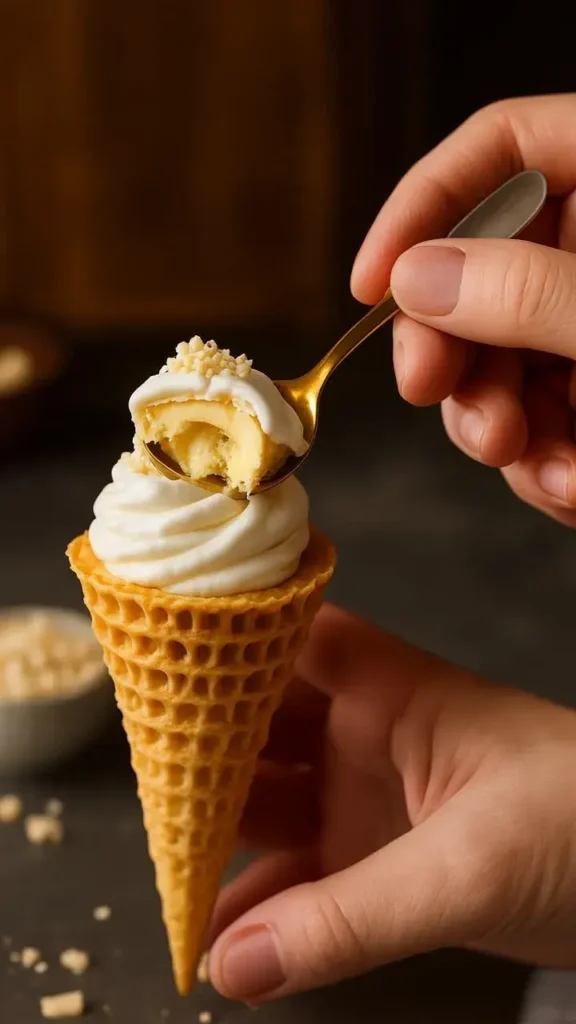
- Optionally, serve with small spoons for easier eating.
Pairing Ideas
Pairing your Banana Pudding Cheesecake Cones with some beverages can elevate the experience. Here are a few recommendations:
- Coffee: A cup of coffee pairs nicely with the sweetness of the cones.
- Milk: Classic and refreshing, it balances the dessert wonderfully.
- Hot Tea: Choose a light herbal tea to complement the banana flavors.
Storing Your Banana Pudding Cheesecake Cones
Refrigeration Instructions
If you have leftovers (though they might not last long), proper storage is key.
- Store the filled cones in an airtight container in the fridge.
- They can last up to 3 days, but keep in mind the bananas can start to brown, so do consume them sooner.
Freezing Options
You can freeze the cheesecake filling separately if you plan ahead.
- Scoop out the cheesecake filling into an airtight container.
- Freeze for up to a month. Simply thaw in the fridge overnight on the day before you plan to make the cones.
Variations on the Classic Recipe
Feeling adventurous? Try these variations on the Banana Pudding Cheesecake Cones for a unique twist!
Chocolate Lovers Version
Substitute half of the cream cheese with chocolate cream cheese. Top off with chocolate syrup and mini chocolate chips for that indulgent touch.
Strawberry Version
Swap out the bananas for fresh strawberries. Strawberry pudding can replace banana pudding for a summer fruity burst.
Vegan and Dairy-Free
Use non-dairy cream cheese and a plant-based whipped cream. Substitute the heavy cream with coconut cream for a tropical vibe.
Nutritional Facts
When it comes to desserts, knowing the nutritional content can help you indulge wisely.
| Ingredient | Serving Size | Calories | Sugar | Protein |
|---|---|---|---|---|
| Ice Cream Cone | 1 cone | 101 | 3 g | 1 g |
| Cream Cheese | 1 oz | 100 | 1 g | 2 g |
| Banana Pudding | 1/2 cup | 120 | 25 g | 1 g |
| Heavy Cream | 1 tbsp | 52 | 0 g | 0 g |
| Banana | 1 medium | 105 | 14 g | 1 g |
Note: These are approximate values and may vary based on specific brands used.
Conclusion
Banana Pudding Cheesecake Cones offer a delightful and whimsical twist to two beloved desserts. With their layers of flavor, creamy filling, and fun cone presentation, they are bound to be a hit at any gathering. Whether you’re making them for a party or just a treat for yourself, following this comprehensive guide will help you nail the recipe perfectly every time.
Get in the kitchen and whip up these impressive desserts. You’ll be pleasantly surprised at how simple they are and how much joy they bring! So gather your ingredients, roll up your sleeves, and let your tastebuds embark on this delicious journey. No one will be able to resist these delightful treats!
