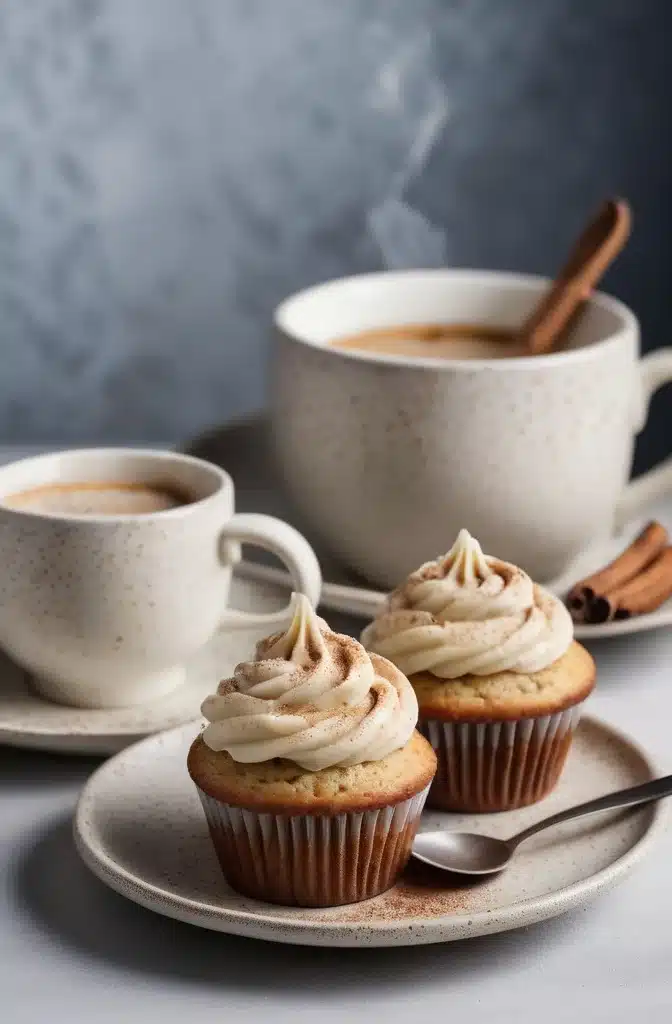
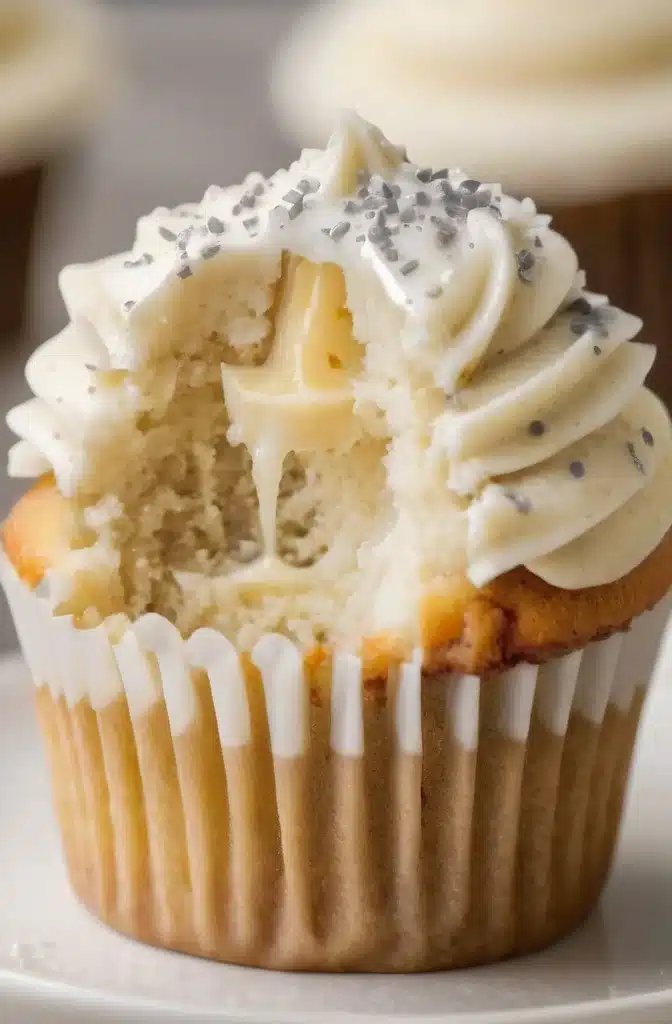
Have you ever bitten into banana cupcakes so moist it practically melts in your mouth? That moment when the perfect balance of sweet banana and creamy frosting hits your taste buds? I still remember the first time I created these cupcakes in my grandmother’s kitchen, the warm aroma filling the house as rain pattered against the windows. It was a revelatory culinary moment that’s stayed with me throught my career.
Banana cupcakes might seem simple, but they’re deceptively complex. These little handheld delights transform overripe bananas into something truly magical—a bakery staple that combines homey comfort with professional-grade patisserie. What makes mine special? A combination of brown butter, buttermilk, and a special mixing technique that creates an incredibly tender crumb without sacrificing structure.
Ingredients & Substitutions
For the Cupcakes:
- 3 very ripe bananas (approximately 1½ cups mashed)
- ½ cup (113g) unsalted butter
- ¾ cup (150g) granulated sugar
- ¼ cup (50g) light brown sugar, packed
- 2 large eggs, room temperature
- 1½ teaspoons pure vanilla extract
- ½ cup (120ml) buttermilk
- 2 cups (240g) all-purpose flour
- 1 teaspoon baking soda
- ½ teaspoon baking powder
- ½ teaspoon fine sea salt
- ¼ teaspoon ground cinnamon (optional)
- ⅛ teaspoon ground nutmeg (optional)
For the Cream Cheese Frosting:
- 8 oz (226g) cream cheese, softened
- ½ cup (113g) unsalted butter, softened
- 3½ cups (420g) powdered sugar, sifted
- 1 teaspoon vanilla extract
- Pinch of salt
Selecting the right bananas is absolutly critical for this recipe. You want them properly overripe—spotted, fragrant, and almost black in places. Underripe bananas simply won’t provide the deep flavor profile we’re after. Trust me on this one; I’ve made this misstake in professional kitchens and regretted it.
For those with dietary restrictions, almond milk mixed with a teaspoon of vinegar makes a decent buttermilk substitute. Gluten-free bakers can swap in a 1:1 all-purpose gluten-free flour blend, though I recommend adding ¼ teaspoon xanthan gum if your blend doesn’t include it. The texture suffers slightly, but it’s a worthwhile compromise for those who need it.
The brown butter element isn’t strictly necessary, but it adds a remarkable nuttiness that elevates these cupcakes from “homemade good” to “professional incredible.” If your short on time, regular melted butter works too—but you’ll miss that caramelized depth.
Step-by-Step Instructions
Brown the Butter
- Place butter in a light-colored saucepan over medium heat. I specifically say light-colored because you need to see the butter changing color as it browns.
- Once melted, the butter will begin to foam, then subside. Watch carefully as the milk solids turn golden brown and the butter develops a nutty aroma. This usually takes 5-7 minutes.
- Immediately transfer to a heat-proof bowl and allow to cool slightly but not solidify.
One of the most common missteps here is burning the butter. The difference between perfectly browned and ruined is literally seconds. If you see black specks forming, you’ve gone too far—start over rather than compromising your cupcakes.
Prepare the Batter

- Preheat your oven to 350°F (175°C) and line a 12-cup muffin tin with paper liners. I prefer parchment liners over regular paper ones as they release more cleanly.
- In a medium bowl, mash the bananas until mostly smooth but with some small lumps remaining. Those little banana pieces create pockets of moisture and flavor in the finished cupcake.
- In a large mixing bowl, combine the cooled brown butter with both sugars. Beat until well incorporated, about 2 minutes.
When adding your eggs, be patient. Add them one at a time, incorporating completely before adding the next. This creates an emulsion that holds air and produces a lighter cupcake. If your mixture looks curdled after adding eggs, don’t panic—it’ll come together when you add the dry ingredients.
- Add eggs one at a time, beating well after each addition, then mix in vanilla extract and mashed bananas.
- In a separate bowl, whisk together flour, baking soda, baking powder, salt, and spices if using.
- Alternately add the dry ingredients and buttermilk to the banana mixture in three parts, beginning and ending with dry ingredients. Mix just until combined—overmixing activates gluten and makes tough cupcakes.
The alternating method isn’t just cheffy nonsense—it prevents the batter from separating and ensures even hydration of the flour proteins. If you’ve ever had dense, rubbery cupcakes, improper mixing was likely the culprit.
Bake and Cool
- Fill each cupcake liner about ⅔ full—approximately 3 tablespoons of batter per cup. Using an ice cream scoop with a release mechanism ensures consistent portioning.
- Bake for 18-20 minutes, or until a toothpick inserted into the center comes out with a few moist crumbs. The tops should spring back when lightly touched.
- Allow to cool in the pan for 5 minutes, then transfer to a wire rack to cool completely before frosting.
For a variations, fold in ½ cup toasted chopped walnuts or pecans, or a handful of mini chocolate chips. The nuts add textural contrast while chocolate pairs beautifully with banana. For a tropical twist, add 2 tablespoons of rum and ⅓ cup toasted coconut flakes.
Prepare the Frosting
- Beat softened cream cheese and butter together until completely smooth and fluffy, about 3 minutes. Scrape the sides of the bowl frequently to avoid lumps.
- Gradually add the sifted powdered sugar, mixing on low speed to prevent a sugar dust cloud in your kitchen (learned this lesson the hard way!).
- Mix in vanilla extract and salt, then increase speed to medium-high and beat until light and fluffy, about 2 more minutes.
If your frosting seems too soft for piping, refrigerate it for 15-20 minutes. But don’t go to far—overly cold frosting will tear your delicate cupcakes when you try to spread it.
Cooking Techniques & Science
The science behind these banana cupcakes is fascinating. The high sugar content and acidity in bananas contribute to an exceptionally moist crumb by interfering with gluten formation. Essentially, the sugars compete with flour proteins for available water, resulting in shorter gluten strands and therefore a more tender texture.
Browning the butter is a game-changer technique that many home bakers skip. When butter browns, the milk proteins undergo Maillard reactions—the same chemical process that makes seared steaks and toasted bread so flavorful. These reactions create hundreds of new flavor compounds that add complexity to your cupcakes.
The buttermilk serves dual purposes. First, it’s acidic nature tenderizes the cake by breaking down some of the protein structures. Second, it reacts with the baking soda to create carbon dioxide bubbles, providing lift and airiness. Using room temperature ingredients ensures proper emulsification and air incorporation during mixing.
I recommend using a digital kitchen scale for measuring ingredients, particularly flour. The difference between a properly measured cup of flour (spoon and level method) and an improperly measured one (scooped directly with measuring cup) can be as much as 30% more flour—enough to ruin your cupcakes.
Serving & Pairing Suggestions

For an elevated presentation, pipe the frosting using a large star tip in a tall swirl, then garnish with a thin slice of fresh banana (brushed with lemon juice to prevent browning), a sprinkle of crushed walnuts, or a light dusting of cinnamon. For special occasions, top with a caramelized banana chip or a drizzle of salted caramel sauce.
These cupcakes pair wonderfully with a cup of freshly brewed coffee or espresso—the bitterness of the coffee highlights the sweet banana notes. For a dessert course, serve alongside a small scoop of butter pecan ice cream or a shot of aged rum.
If serving at a gathering, consider making mini cupcakes instead—they’re perfect two-bite treats that allow guests to sample without commitment. Simply reduce the baking time to about 10-12 minutes.
The flavor actually improves overnight as the banana permeates the crumb, so don’t hesitate to make these a day ahead. Store in an airtight container at room temperature if serving within 24 hours, or refrigerate if keeping longer.
Conclusion
Creating truly exceptional banana cupcakes isn’t just about following a recipe—it’s about understanding the intricacies of ingredients and techniques. The combination of overripe bananas, brown butter, and proper mixing creates a cupcake with professional-level flavor complexity and perfect texture.
Remember that baking is both science and art. While precision matters for the chemical reactions that make your cupcakes rise, don’t be afraid to experiment with additional spices or mix-ins once you’ve mastered the base recipe. Cardamom, ginger, or even a touch of black pepper can take these cupcakes in fascinating new directions.
If your cupcakes sink slightly after baking, don’t worry—this creates a perfect well for extra frosting. And if you find yourself with extras (unlikely!), these cupcakes freeze beautifully for up to three months. Simply thaw at room temperature for an hour before serving.
Ultimately, what makes these banana cupcakes special isn’t just the ingredients or techniques—its the joy they bring to those who eat them. There’s something universally comforting about the humble banana transformed into something so delightful.
FAQs
How ripe should my bananas be for this recipe?
The riper, the better! I’m talking about bananas that are deeply speckled, almost black, and smell intensely sweet. These overripe bananas have developed more sugar and flavor compounds. If your bananas aren’t ripe enough, you can speed up the process by placing them in a paper bag with an apple overnight, or bake them in their skins at 300°F for about 15-20 minutes until blackened.
Can I make these cupcakes ahead of time?
Absolutely! In fact, the flavor improves overnight as the banana permeates throughout the crumb. The unfrosted cupcakes can be stored in an airtight container at room temperature for up to 2 days. Once frosted, they should be refrigerated and brought to room temperature before serving. You can also freeze the unfrosted cupcakes for up to 3 months—just thaw at room temperature and frost before serving.
Why did my cupcakes sink in the middle?
This typically happens for one of three reasons: opening the oven door too early during baking (causing a temperature drop), underbaking, or using too much leavening agent. Make sure your baking soda and baking powder are fresh, avoid peeking until at least 15 minutes into baking, and check for doneness with a toothpick before removing from the oven. That said, a slight dip is normal with banana cupcakes due to their moisture content—and it creates the perfect spot for extra frosting!
Can I use this recipe to make a banana cake instead?
Definitely! This recipe will make one 8-inch two-layer cake or a 9×13-inch sheet cake. For layers, bake at 350°F for 25-30 minutes; for a sheet cake, bake for 30-35 minutes. You’ll want to increase the frosting recipe by 50% to adequately cover a full cake.
How do I store leftovers and how long will they last?
Store frosted cupcakes in an airtight container in the refrigerator for up to 5 days. Let them come to room temperature before serving (about 30 minutes) for the best flavor and texture. The cream cheese frosting doesn’t hold up well in warm environments, so refrigeration is necessary for food safety.
