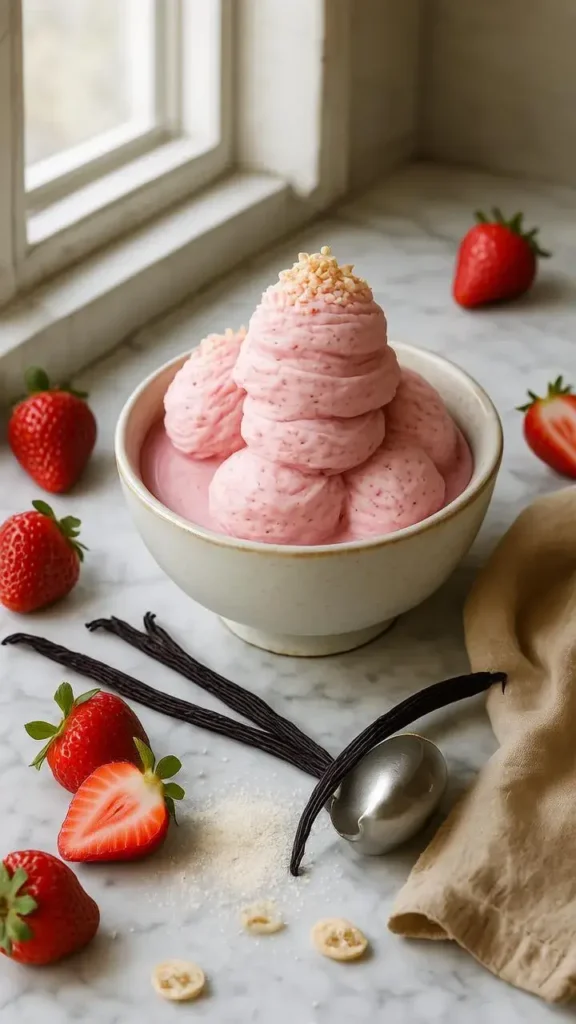
Strawberry vanilla bean ice cream is the kind of treat that instantly makes you feel like a kid again. Imagine the sweet burst of ripe strawberries mixed with the rich, creamy magic of real vanilla bean—yep, it’s as dreamy as it sounds.
If you’ve ever wanted to make ice cream that tastes like summer in a scoop, you’re in the right place. This recipe is simple, fun, and totally worth the effort. Grab your berries, roll up your sleeves, and get ready to churn up something truly unforgettable!
Strawberry Vanilla Bean Ice Cream Ingredients
The success of strawberry vanilla bean ice cream hinges on a few quality ingredients. Let’s dive deeper into what you’ll need.
Strawberries
Fresh strawberries are the star of the show. They add both flavor and color to the ice cream. When selecting strawberries, look for bright red berries that are firm and plump. Avoid those with green patches or a mushy texture. If you’re using frozen berries, make sure they are unsweetened.
Vanilla Beans
Nothing compares to the flavor of real vanilla beans. Vanilla extract is great, but the tiny black seeds from an actual vanilla bean provide depth and complexity to the ice cream. When you split a vanilla bean, you’re releasing aromatic oils that elevate the flavor profile immensely.
Cream and Milk
Dairy is the base of any ice cream recipe. Heavy cream is preferred as it gives that luxurious texture. Whole milk also helps, leveling up the creaminess. Using both creates a rich yet smooth base.
Sugar
Sugar not only sweetens the ice cream but also lowers the freezing point. This is key for achieving that scoopable consistency. Depending on the sweetness of your strawberries, you might need to adjust the sugar amount.
Egg Yolks
Some ice cream recipes incorporate egg yolks to create a custard base. This adds richness and helps stabilize the ice cream. If you prefer a simpler version, you can opt to skip this ingredient, but you may sacrifice some creaminess.
Essential Equipment for Making Ice Cream
To make your strawberry vanilla bean ice cream, you’ll need a few essential tools.
- Ice Cream Maker: While you can make ice cream without one, this tool will make the process much easier and yield better results.
- Mixing Bowls: You’ll need a couple of mixing bowls for separating and combining your ingredients.
- Whisk: A good whisk will help incorporate air into your mixture, enhancing the creaminess.
- Spatula: This is crucial for scraping down the sides of your bowls and ensuring everything is well-combined.
- Storage Container: Opt for an airtight container to store your finished ice cream. A glass container works best.
Step-by-Step Strawberry Vanilla Bean Ice Cream Recipe
Now that we have our ingredients and tools ready, let’s get into the nitty-gritty of making strawberry vanilla bean ice cream!
Step 1: Prepare Your Strawberries
Start by washing about 2 cups of fresh strawberries. After they’re cleaned, remove the tops and slice them. This helps release their juices, enhancing the flavor. If desired, you can mash the strawberries slightly to create a puree.
Step 2: Make Strawberry Sauce
In a saucepan, combine the sliced strawberries with 1/4 cup of sugar. Heat over medium until the strawberries start to release their juice. Stir occasionally until you have a syrupy mixture. This usually takes around 10 minutes. Once ready, let it cool and blend if a smoother consistency is desired.
Step 3: Prepare the Vanilla Base
In a separate mixing bowl, whisk together 2 cups of heavy cream and 1 cup of whole milk. Scrape the seeds from one vanilla bean and add both the seeds and the bean pod to the milk and cream mixture. If you don’t have vanilla beans, 2 teaspoons of pure vanilla extract can be substituted.
Step 4: Combine Sugar and Egg Yolks
In another bowl, whisk together 3/4 cup sugar and 5 egg yolks. This will create a custard-like base, providing creaminess. You want to whisk until the mixture is pale and thick, usually for a minute.
Step 5: Cook the Custard
Pour the vanilla cream mixture into a saucepan and heat over medium until it’s warm but not boiling. Gradually add the egg yolk mixture, whisking constantly. Cook until the mixture thickens—this can take about 5 minutes. Once it coats the back of a spoon, remove it from the heat. Strain through a fine-mesh sieve to eliminate any lumps.
Step 6: Mix in Strawberry Sauce
Stir your cooled strawberry sauce into the custard base. Make sure it’s well combined, creating a beautiful swirl of pink and creamy goodness.
Step 7: Chill the Mixture
Cover the mixture and put it in the refrigerator for at least 4 hours, or ideally, overnight. This step is crucial as a well-chilled mixture churns better and gives creamier ice cream.
Step 8: Churn the Ice Cream
Once chilled, pour your mixture into an ice cream maker. Follow the manufacturer’s instructions for churning. Typically, it takes about 20-30 minutes to achieve a soft-serve consistency.
Step 9: Freeze and Store
Transfer the churned ice cream to your airtight storage container. Smooth the top with a spatula and cover it with plastic wrap for added freshness. Freeze for at least 4 hours before serving. This allows the ice cream to become firm.
Strawberry Vanilla Bean Ice Cream Serving Suggestions
When serving your homemade strawberry vanilla bean ice cream, consider these ideas:
- Garnishes: Add fresh strawberries, mint leaves, or a drizzle of chocolate syrup.
- Pairing: Serve with warm desserts like pie or brownies for a delightful contrast.
- Sundae Style: Top with whipped cream, nuts, and your favorite toppings for a luxurious sundae.
Troubleshooting Common Ice Cream Issues
Making ice cream can come with its challenges. Here are some common problems and how to fix ‘em.
Ice Cream is Too Hard
This is often due to too much sugar or insufficient churning. To soften it, leave it out for a few minutes before serving.
Ice Crystals Formed
Ice crystals can occur if the ice cream is not churned long enough or if it hasn’t been stored properly. Make sure you churn it adequately and keep it in an airtight container.
Mixture Doesn’t Thicken
If the custard doesn’t thicken, it might be due to insufficient heating. Always cook the mixture over medium heat, stirring continuously.
Fun Facts About Ice Cream
Did you know some interesting tidbits about ice cream? Here are some to chew on:
- Ice cream dates back to ancient China, where a frozen mixture of milk and rice was enjoyed.
- The first ice cream machine was invented in the 1840s by Nancy Johnson.
- Vanilla is the most popular ice cream flavor, followed closely by chocolate and strawberry.
Nutrition Facts
Here’s a basic table breaking down the nutritional value of serving strawberry vanilla bean ice cream (1/2 cup serving):
| Nutrient | Amount |
|---|---|
| Calories | 200 |
| Total Fat | 10g |
| Saturated Fat | 6g |
| Carbohydrates | 29g |
| Sugars | 21g |
| Protein | 3g |
| Calcium | 80mg |
Remember, this can vary significantly based on ingredients and portion sizes.
Storing Your Homemade Ice Cream
To ensure your strawberry vanilla bean ice cream stays fresh, store it in an airtight container. Always use a clean spoon when serving to avoid contamination.
Ice cream can last up to two weeks in the freezer, but it’s best enjoyed fresh. Over time, flavors may diminish, and the texture can change.
Conclusion: Enjoy Your Strawberry Vanilla Bean Ice Cream
Making strawberry vanilla bean ice cream is not just about following a recipe. It’s about embracing the process and enjoying the fruits (or ice cream) of your labor. There’s something special about creating your own ice cream and savoring each spoonful.
So, gather your ingredients, roll up your sleeves, and get churning! You won’t regret the delicious results. Enjoy every creamy, fruity bite of your homemade treat!
